TBU #037: Taking a Short Cut With Resin Coating
Feb 04, 2023
New Issue of The Biomimetic Uprising
Read Time: 2 min
Join the BSC membership for $ 27 / month. Thanks to all who took the recent IG Stories polls. I've changed the membership to make it more accommodating to the answers from the polls. I'm always fine tuning the membership to be effective for you.
Resin Coating.
Secure Bond.
Flowable.
They are all used very similarly, if not, in fact, the same.
But Why??
The purpose of the resin coating is to place a resin coat on the hybrid layer. But when we are coating it with a thin layer of resin, we are placing a 'secure bond' on it to ensure that it stays protected. You are using flowable composite as your thin resin material. Those terms can often get confusing quickly.
The hybrid layer is the most important layer of our restoration. We are trying to ensure that hybrid layer stays intact from tensile stresses, polymerization stresses, pulpal transudation fluid pressure, along with general masticatory forces. This layer IS the foundation. It needs to be protected.
Another inhibitory factor is a potential oxygen inhibiting layer. This layer is typically about 50 microns thick. The oxygen inhibiting layer is essentially a layer that is unstable and unusable in the restoration. The oxygen in the ambient air blocks any potential cross linking and double bond chains from forming.
So when choosing a bonding agent, its nice to get one thick enough so there is a thick enough hybrid layer to use. Often universals can be TOO thin, just like 3-10 microns thick. So we need some techniques in place to help ensure our hybrid layer is thick enough and usable.
There are two main ways you can do this. Use a thicker adhesive bonding agent, like Optibond FL. The adhesive in this system is about 80 microns thick. This is thick enough to stay protected and to have enough material that's usable with any oxygen inhibition happening.
Another option is to use a flowable composite to coat the hybrid layer. Other systems like SE Protect from Kuraray is about 30 microns thick. So by placing a thin layer of flowable we can counteract all of these detrimental effects.
Typically we are trying to keep the flowable layer LESS THAN 1mm thick.
OK WHAT?
How do you control a semi fluid material to tell how thick it is?
Two ways again.
One, get your perio probe that has the 1mm markings. When placing the flowable, just place a small drop and get the prob and drag the flowable composite around the prep. When checking with the prob, you just need to ensure that it is lower than the first 1mm marking on the prob. We're going for nice estimation and not the total exact science.
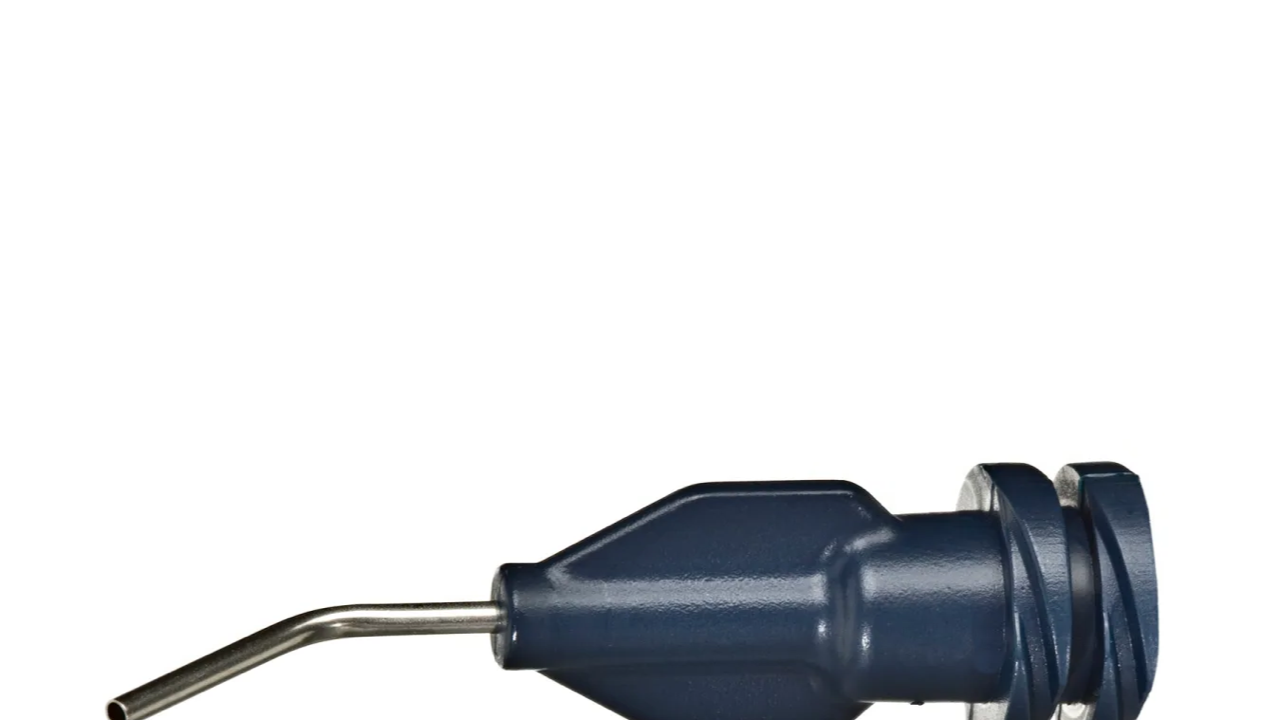
A second option that I have been doing in my office, is to just use the flowable tip to drag it around. I had a bit of turnover with my assistants during quarantine. This was one little thing I picked up while trying to to train them and its actually ended up working our quite nicely.
The cannula tip of the flowable is typically 18 gauge or 20 gauge in size. That equates to about 1.3mm (external diameter) for the 18 gauge and about 1.1mm (external diameter) for the 20 gauge.
So once again, we are going for a close measurement. I'll use the flowable tip to measure how thick the layer is. You just turn it on its side and see if you can see into the flowable tip. If so, then you are good. Feel free to cross check, it typically comes out about .5mm
This is just another quick step change that can help save a step or two. We still end up with the same final result and are able to move onto the next step of building out our bio-base.
Try it out! Would love to hear your thoughts.
If you subscribe, thank you! A free article was included in the newsletter version to those that subscribed.
Whenever you're ready, here are the ways I can help you:
- Take a look at our online courses and guides
- Join our ever growing community and get instant access to our group chat, shared resources, on-demand help, along with networking with the leaders in biomimetics.


